
With the advent of cross-platform technologies like React Native, Flutter, Ionic, etc., it has become even more important for companies to incorporate a hybrid approach to developing mobile applications. Often product owners face a dilemma whether to develop apps the native way or to develop a cross platform app instead. Just as all things in life are not always either black or white, but rather a shade of grey. Similarly, sometimes we need to combine native code and cross platform code as per the requirement of the functionality in question.
Originating in Facebook, React Native is a cross platform technology that uses the power of Javascript to create applications that run on Android and iOS with a single codebase while giving the same native feel on each OS.
Initial Setup
To ensure a smooth experience, create a new folder for your integrated project, let’s call it SwiftWithRN, then copy your existing iOS project to an /iOS folder.
Next, create a package.json file in the root folder. The contents shall look like this —
{
“name”: “SwiftWithRN”,
“version”: “0.0.1”,
“private”: true,
“scripts”: {
“start”: “yarn react-native start”
}
}
Now we need to install the react and react-native packages. Navigate to your project folder in the Terminal and run —
yarn add react-native
Just making things compatible
Add the following React-specific pods to your podfile and your podfile should look like this —
source ‘https://github.com/CocoaPods/Specs.git'
# Uncomment the next line to define a global platform for your project
platform :ios, ‘10.0’
use_frameworks!
target ‘SwiftWithRN’ do
# Your ‘node_modules’ directory is probably in the root of your project,
# but if not, adjust the `:path` accordingly
# Explicitly include Yoga if you are using RN >= 0.42.0
pod “Yoga”, :path => “../node_modules/react-native/ReactCommon/yoga”
# Third party deps podspec link
pod ‘DoubleConversion’, :podspec => ‘../node_modules/react-native/third-party-podspecs/DoubleConversion.podspec’
pod ‘glog’, :podspec => ‘../node_modules/react-native/third-party-podspecs/glog.podspec’
pod ‘RCT-Folly’, :podspec => ‘../node_modules/react-native/third-party-podspecs/RCT-Folly.podspec’
pod ‘React’, :path => ‘../node_modules/react-native/’
pod ‘React-Core’, :path => ‘../node_modules/react-native/’
pod ‘React-RCTActionSheet’, :path => ‘../node_modules/react-native/Libraries/ActionSheetIOS’
pod ‘React-RCTAnimation’, :path => ‘../node_modules/react-native/Libraries/NativeAnimation’
pod ‘React-RCTText’, :path => ‘../node_modules/react-native/Libraries/Text’
pod ‘React-RCTNetwork’, :path => ‘../node_modules/react-native/Libraries/Network’
pod ‘FBReactNativeSpec’, :path => ‘../node_modules/react-native/React/FBReactNativeSpec’
pod ‘RCTRequired’, :path => “../node_modules/react-native/Libraries/RCTRequired”
pod ‘RCTTypeSafety’, :path => “../node_modules/react-native/Libraries/TypeSafety”
pod ‘FBLazyVector’, :path => “../node_modules/react-native/Libraries/FBLazyVector”
pod ‘ReactCommon/turbomodule/core’, :path => “../node_modules/react-native/ReactCommon”
pod ‘React-callinvoker’, :path => “../node_modules/react-native/ReactCommon/callinvoker”
pod ‘React-cxxreact’, :path => ‘../node_modules/react-native/ReactCommon/cxxreact’
pod ‘React-jsi’, :path => ‘../node_modules/react-native/ReactCommon/jsi’
pod ‘React-jsiexecutor’, :path => ‘../node_modules/react-native/ReactCommon/jsiexecutor’
pod ‘React-jsinspector’, :path => ‘../node_modules/react-native/ReactCommon/jsinspector’
pod ‘React-CoreModules’, :path => ‘../node_modules/react-native/React/CoreModules’
pod ‘React-Core/DevSupport’, :path => ‘../node_modules/react-native/’
pod ‘React-perflogger’, :path => ‘../node_modules/react-native/ReactCommon/reactperflogger’
pod ‘React-runtimeexecutor’, :path => ‘../node_modules/react-native/ReactCommon/runtimeexecutor’
pod ‘React-RCTImage’, :path => ‘../node_modules/react-native/Libraries/Image’
pod ‘React-RCTBlob’, :path => ‘../node_modules/react-native/Libraries/Blob’
pod ‘React-RCTLinking’, :path => ‘../node_modules/react-native/Libraries/LinkingIOS’
pod ‘React-RCTSettings’, :path => ‘../node_modules/react-native/Libraries/Settings’
pod ‘React-RCTVibration’, :path => ‘../node_modules/react-native/Libraries/Vibration’
# Pods for SwiftWithRN
# — Pods required by your native app go here —
end
Navigate to your /iOS folder in the Terminal and hit the following command to install these pods —
pod install
Let the Integration begin!
We would be making an app where we take certain user input from the user through a screen made in native code; and then display a custom text based on this input in our React Native component.
Create an empty index.js file in your root folder and add the following code to it —
import React from ‘react’;
import {
AppRegistry,
StyleSheet,
Text,
View
} from ‘react-native’;
class RNShowMsg extends React.Component {
render() {
var contents = this.props[‘messages’].map((item) => (
<Text key={item.name}>
{item.name}:{item.msg}
{‘\n’}
</Text>
));
return (
<View style={styles.container}>
<Text style={styles.mainTitle}>
Messages!
</Text>
<Text style={styles.messages}>{contents}</Text>
</View>
);
}
}
const styles = StyleSheet.create({
container: {
flex: 1,
justifyContent: ‘center’,
alignItems: ‘center’,
backgroundColor: ‘#FFFFFF’
},
mainTitle: {
fontSize: 20,
textAlign: ‘center’,
margin: 10
},
messages: {
textAlign: ‘center’,
color: ‘#333333’,
marginBottom: 5
}
});
// Module name
AppRegistry.registerComponent(‘RNShowMsg’, () => RNShowMsg);
Our initial screen (say HomeViewController) made in native code looks like this –
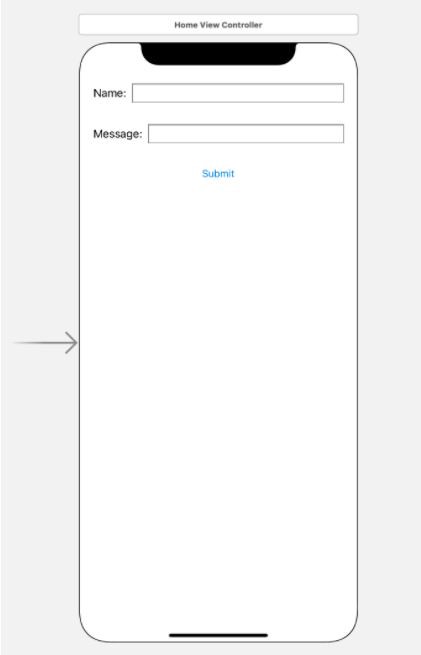
Now, what we want to do is send the user inputs received through the Name and Message text-fields to our React Native component when the user clicks the submit button. First import the React library.
import React
Now let’s write the handler code for that Submit button —
@IBAction func submitButtonTapped(sender: UIButton) {
let jsCodeLocation = URL(string: “http://localhost:8081/index.bundle?platform=ios")!
let mockData:NSDictionary = [“messages”:
[
[“name”: nameTextField.text!, “msg”: messageTextField.text!]
]
]
let rootView = RCTRootView(
bundleURL: jsCodeLocation,
moduleName: “RNShowMsg”,
initialProperties: mockData as [NSObject : AnyObject],
launchOptions: nil
)
let vc = UIViewController()
vc.view = rootView
self.present(vc, animated: true, completion: nil)
}
Running your app
Apple has blocked implicit cleartext HTTP resource loading. So we need to add the following to our project’s Info.plist file.
<key>NSAppTransportSecurity</key>
<dict>
<key>NSExceptionDomains</key>
<dict>
<key>localhost</key>
<dict>
<key>NSTemporaryExceptionAllowsInsecureHTTPLoads</key>
<true/>
</dict>
</dict>
</dict>
Next, to run the app, you need to start the React development server. Run this command from the root folder in the Terminal —
npm start
Once your Metro server is up and running, run the app from Xcode like you would do normally on a device or simulator.
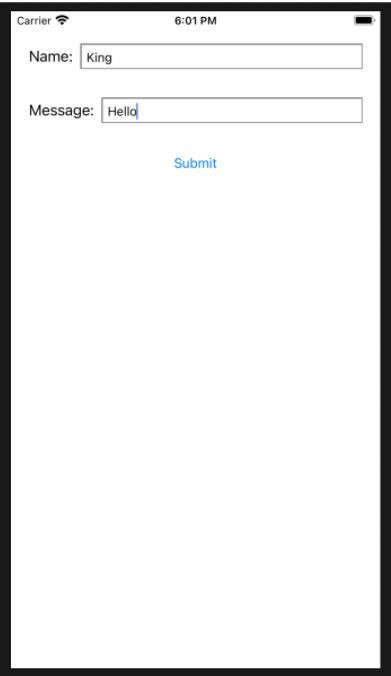
The Native screen with user inputs —
On clicking the Submit button, you see the React Native screen with custom message —
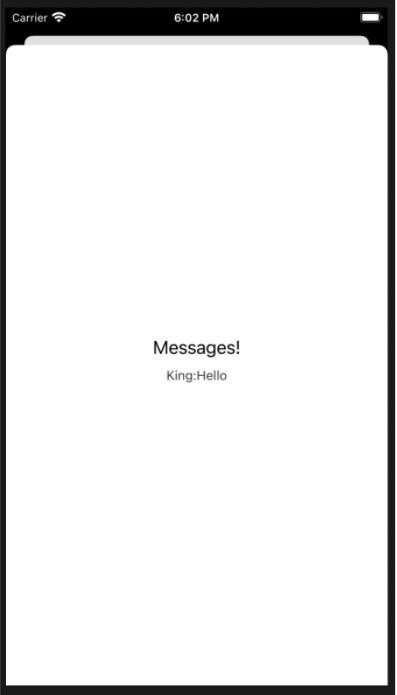
Voila! Your integrated application is ready.